
A SketchUp interior client presentation can combine a generated furniture asset, selected renders, a design board, style alternatives and short animations. In VizMaker, develop those outputs from a few approved room views, keeping each branch tied to the source. Review the geometry, image edits and motion separately before assembling the presentation.
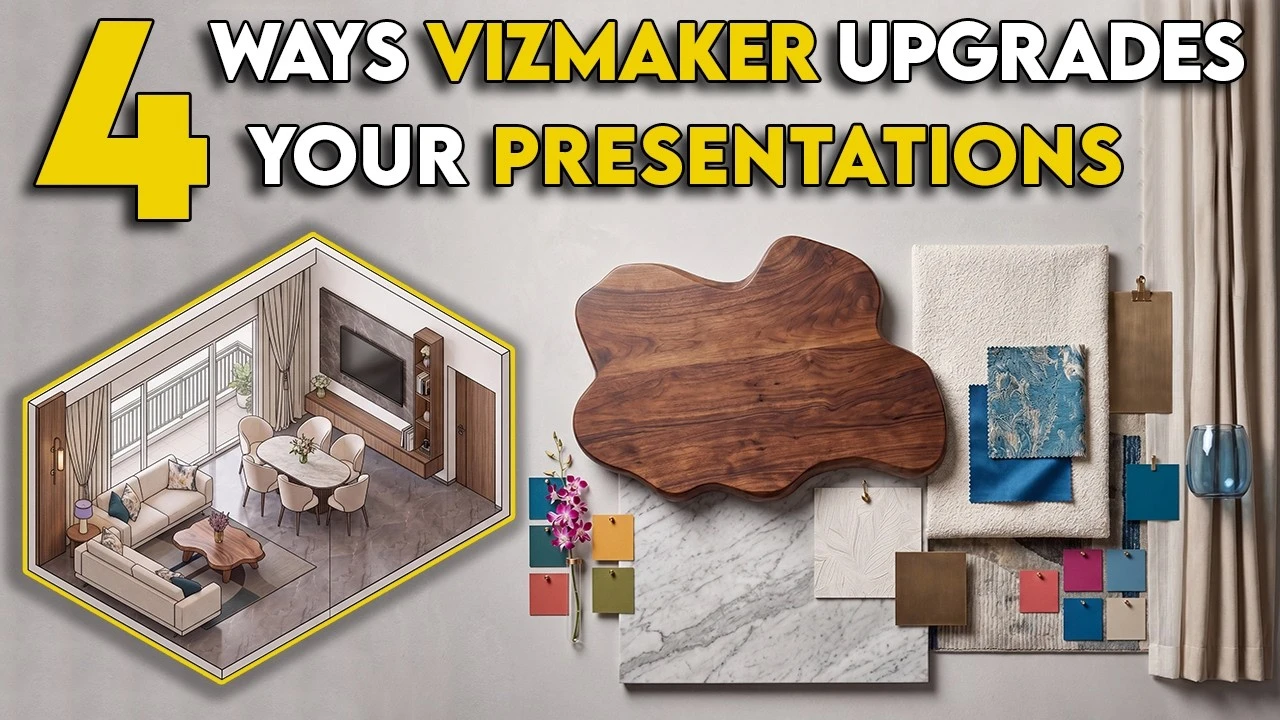
Build a coordinated presentation from an unfinished interior
A room model may be ready for discussion before every asset and material is finished. The presentation still needs to explain the furniture, atmosphere and design direction. Producing unrelated images for each task can make the proposed interior harder to understand.
Adrian Mazur’s recording, published on 17 May 2026, develops one SketchUp interior through furniture creation, rendering, design variations and animation. It includes an affiliate promotion. This guide uses that recorded workflow as a practical sequence; its deadline scenario and speed claims are not delivery guarantees.
1. Create the missing furniture asset and place it in SketchUp
Complete an important focal object before generating presentation views.
Start with a clear furniture reference. In Image Editor, use Nano Banana 2 to isolate the chosen object against a plain background. The example removes the surrounding room from a coffee-table image so the intended object is easier to identify.
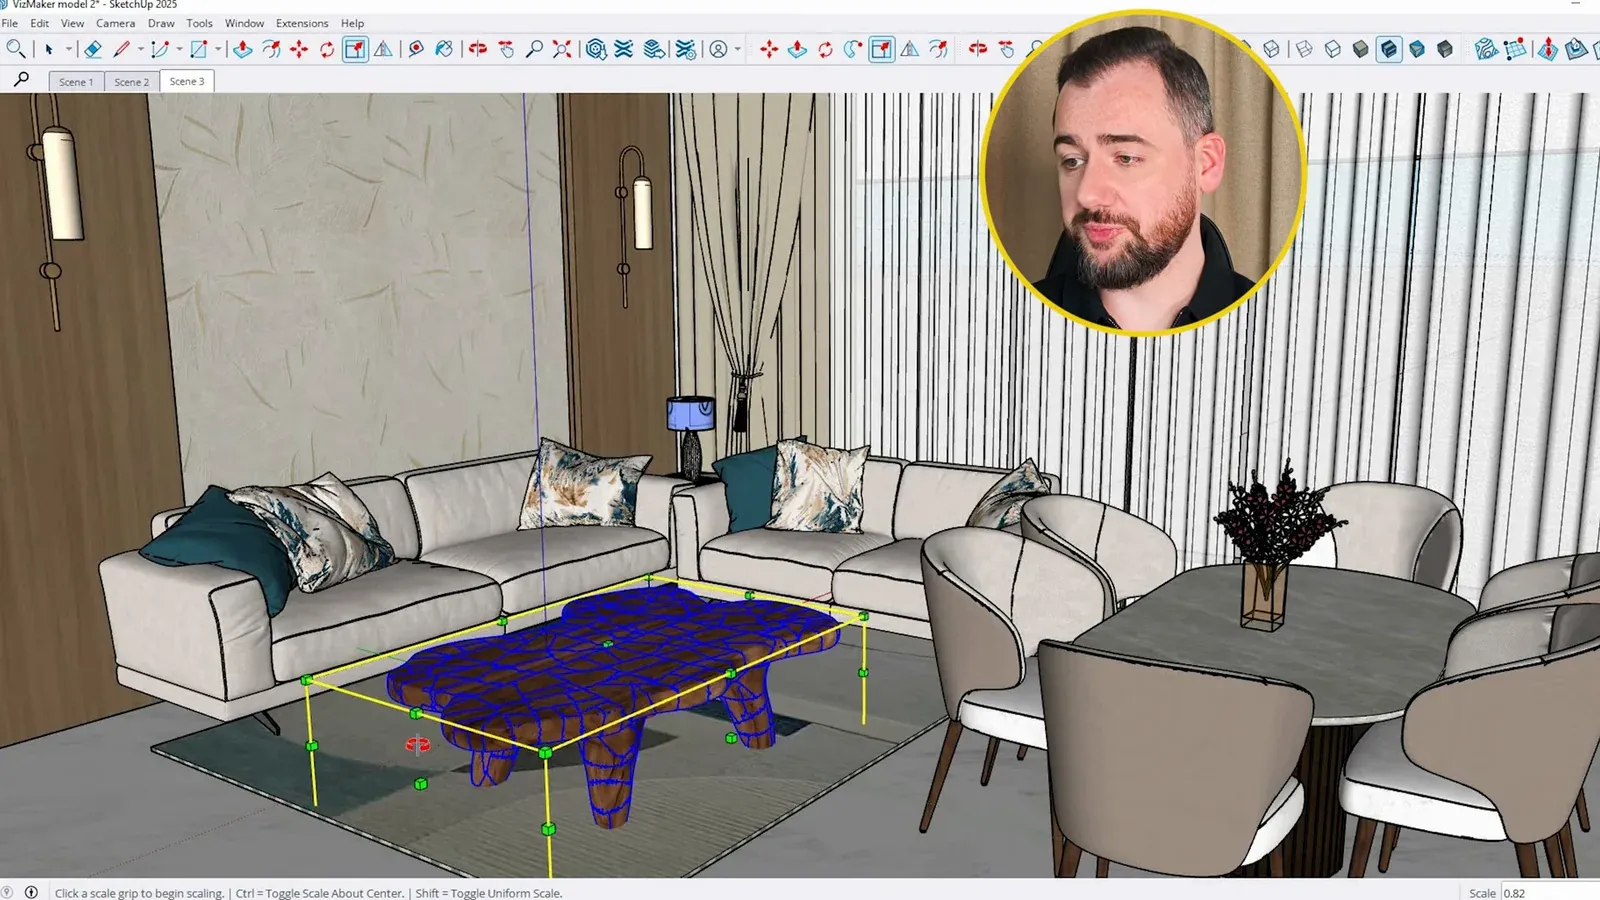
Send the isolated image to 3D Model Creator and select Meshy AI. Inspect the generated table with and without textures, looking at its silhouette, legs and underside. A single image leaves hidden surfaces to be inferred, so the output needs inspection before use.
The source exports the asset as GLB and places it in the SketchUp room, then adjusts scale and position. It also mentions OBJ as an export option. The video does not document a universal import setup for every SketchUp version; use the format supported by your own installation and confirm dimensions in the destination scene.
2. Establish a small set of complementary interior renders
Choose the baseline images that will support the rest of the presentation.
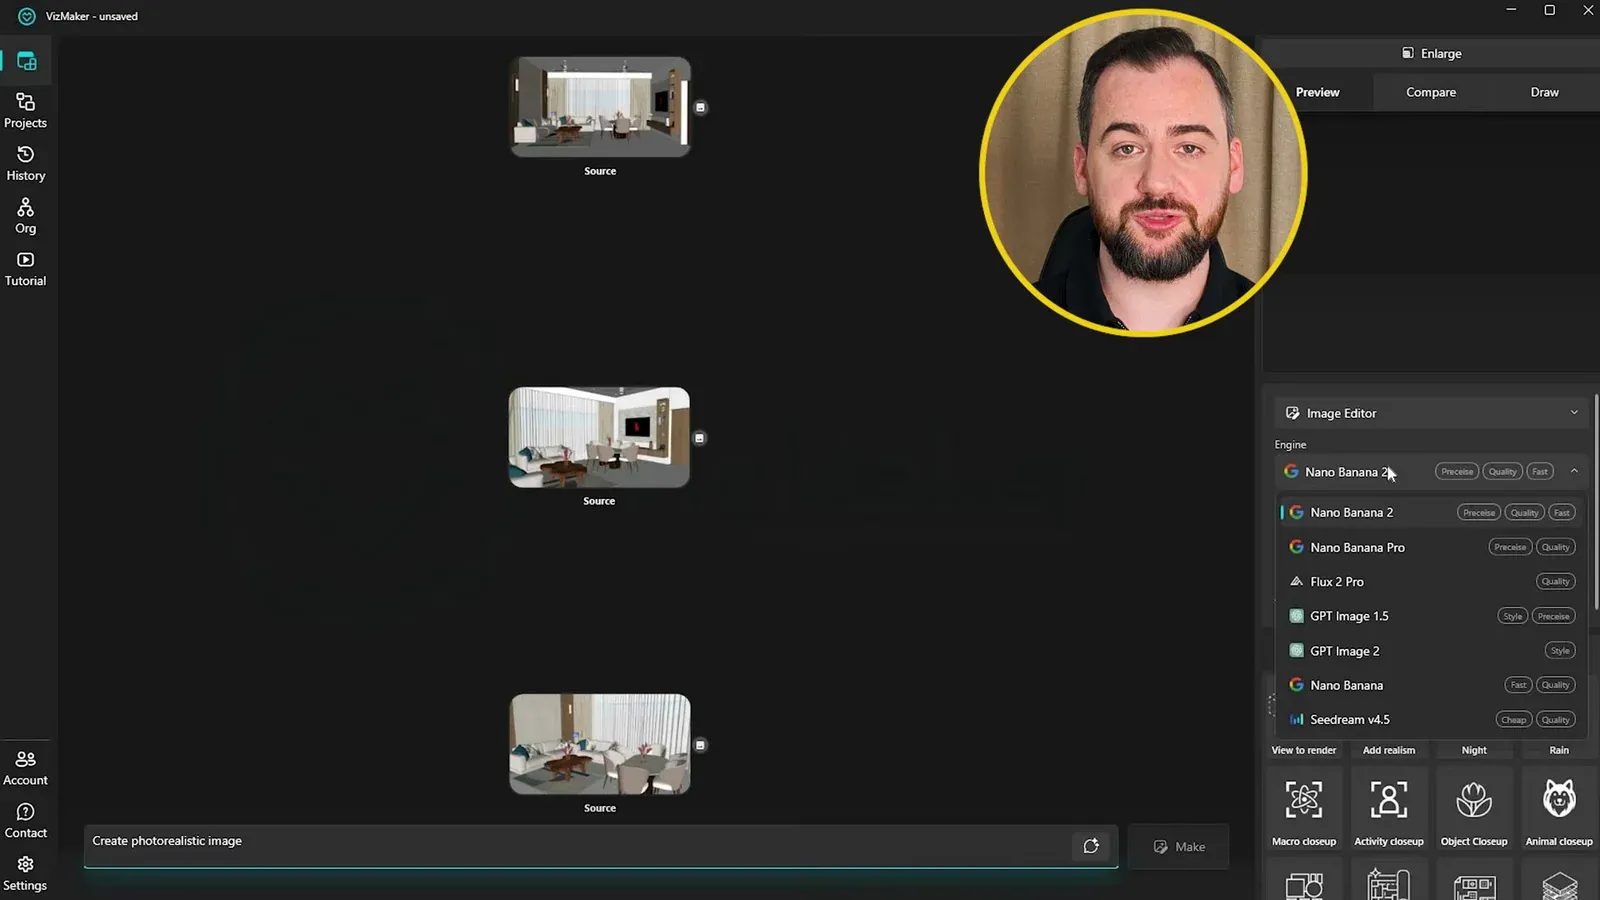
Bring three useful room views into VizMaker and generate initial images with Nano Banana 2. The recorded example uses two alternatives per view, allowing the designer to compare reflections, contrast and the view outside the window.
Select the image that explains each viewpoint most clearly. A wide view can establish the room arrangement; another angle can show the dining area or material relationships. Check that furniture positions, openings and the focal table remain consistent with the source model.
Keep the chosen base images as separate branches. Subsequent boards, style studies and animations should begin from a deliberate selection instead of whichever result happened to be generated last.
3. Explain the proposal with boards, details and activity
Give each supporting image a specific communication role.
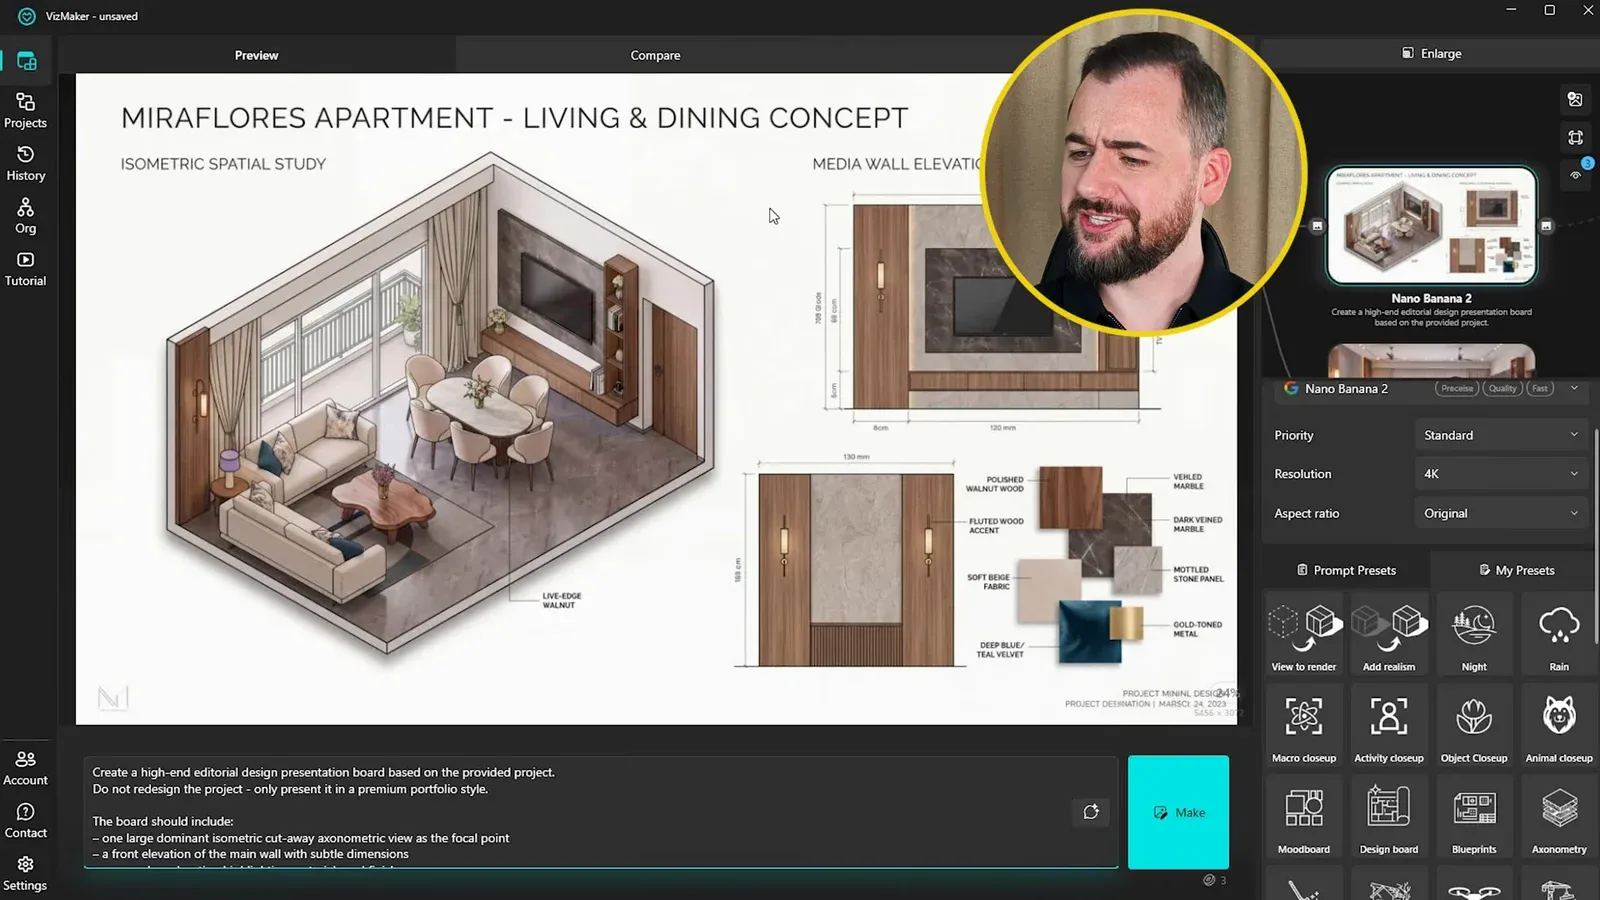
Use the approved images to generate a design board, a mood board and an object close-up through the relevant presets. The design board brings spatial references, furniture and finishes together; the mood board communicates the palette and material character.
A detail image can focus attention on the coffee table or a finish that disappears in the wide view. Activity images add people to suggest occupation and scale. Choose only the supporting images that explain something the main renders do not.
Check generated labels, dimensions and material depictions before presenting a board. The illustrated layout is an AI-generated communication aid, not an automatically verified specification sheet or measured drawing. Keep actual product and project information as the reference.
4. Branch style alternatives from the same room view
Use a stable layout to make the design differences easier to discuss.
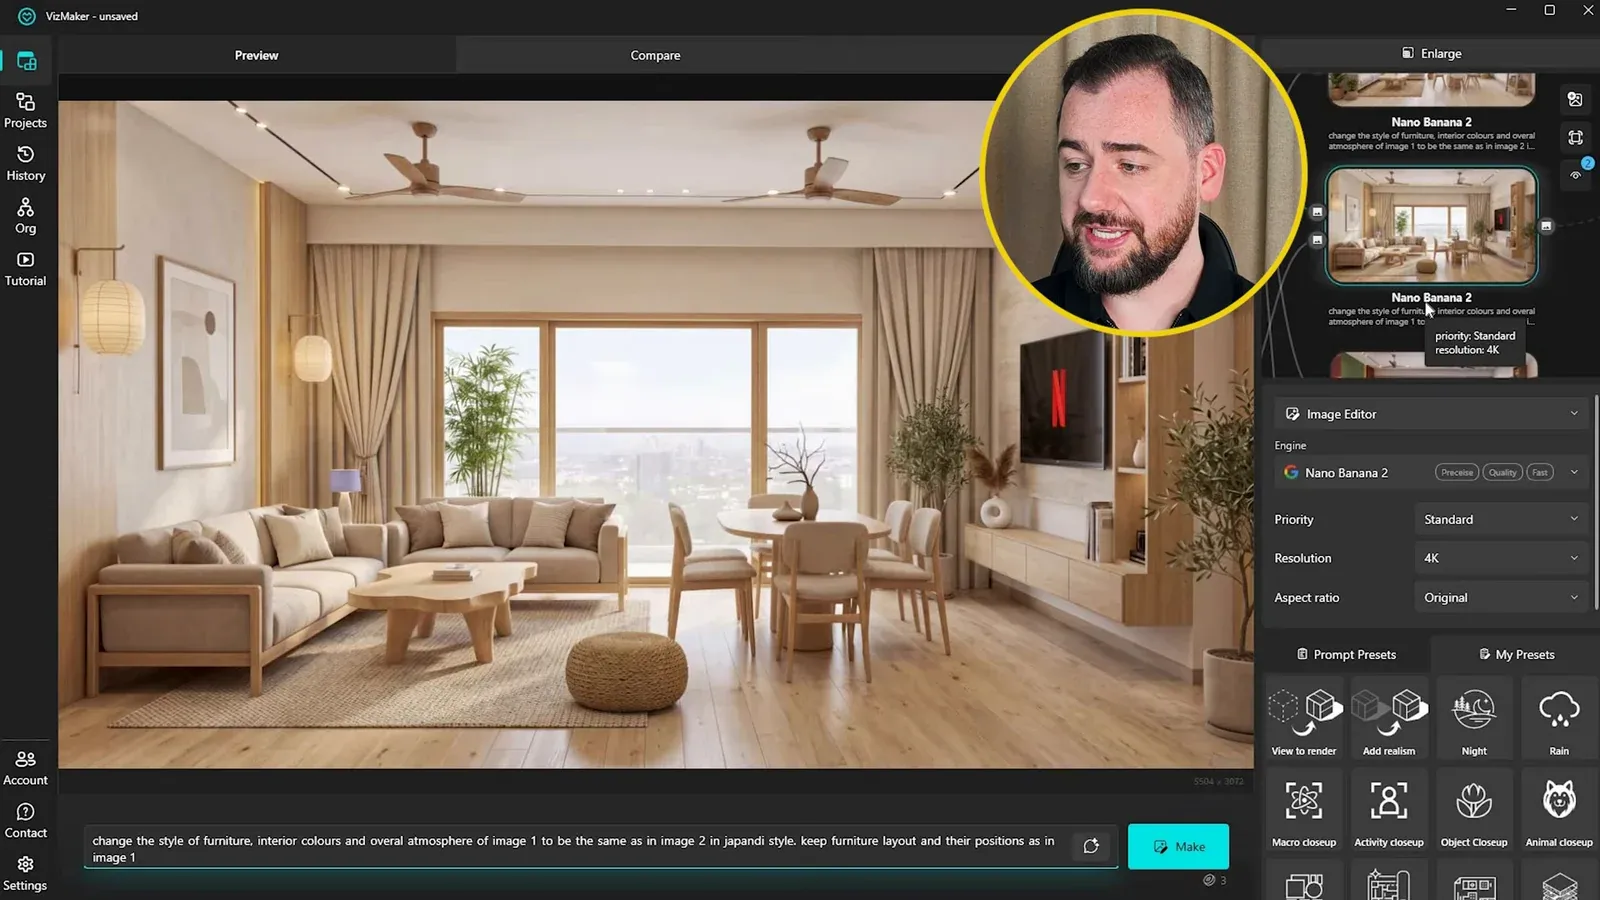
Pair the base interior with a style reference in Image Editor. Describe the desired furniture and material direction while asking to retain the room layout and object positions. The source explores Scandinavian, Japandi, colorful contemporary and luxury-gold interpretations.
Compare changes selectively. A successful palette may still include an unsuitable wall finish or ceiling treatment. In the example, the creator likes parts of the colorful and gold versions while rejecting specific surfaces. A style label does not make every generated decision appropriate.
Keep the preferred parts as a direction for refinement. Present alternatives as interior design variations, with a clear explanation of what is being compared, rather than suggesting that every generated finish is already specified or available.
5. Use furniture references and Draw for focused revisions
Move from a broad style choice to specific design decisions.
To replace furniture without redesigning the whole room, connect the base interior with the selected furniture references. The demonstration uses three reference images and asks to keep the original layout and furniture positions while changing the pieces.
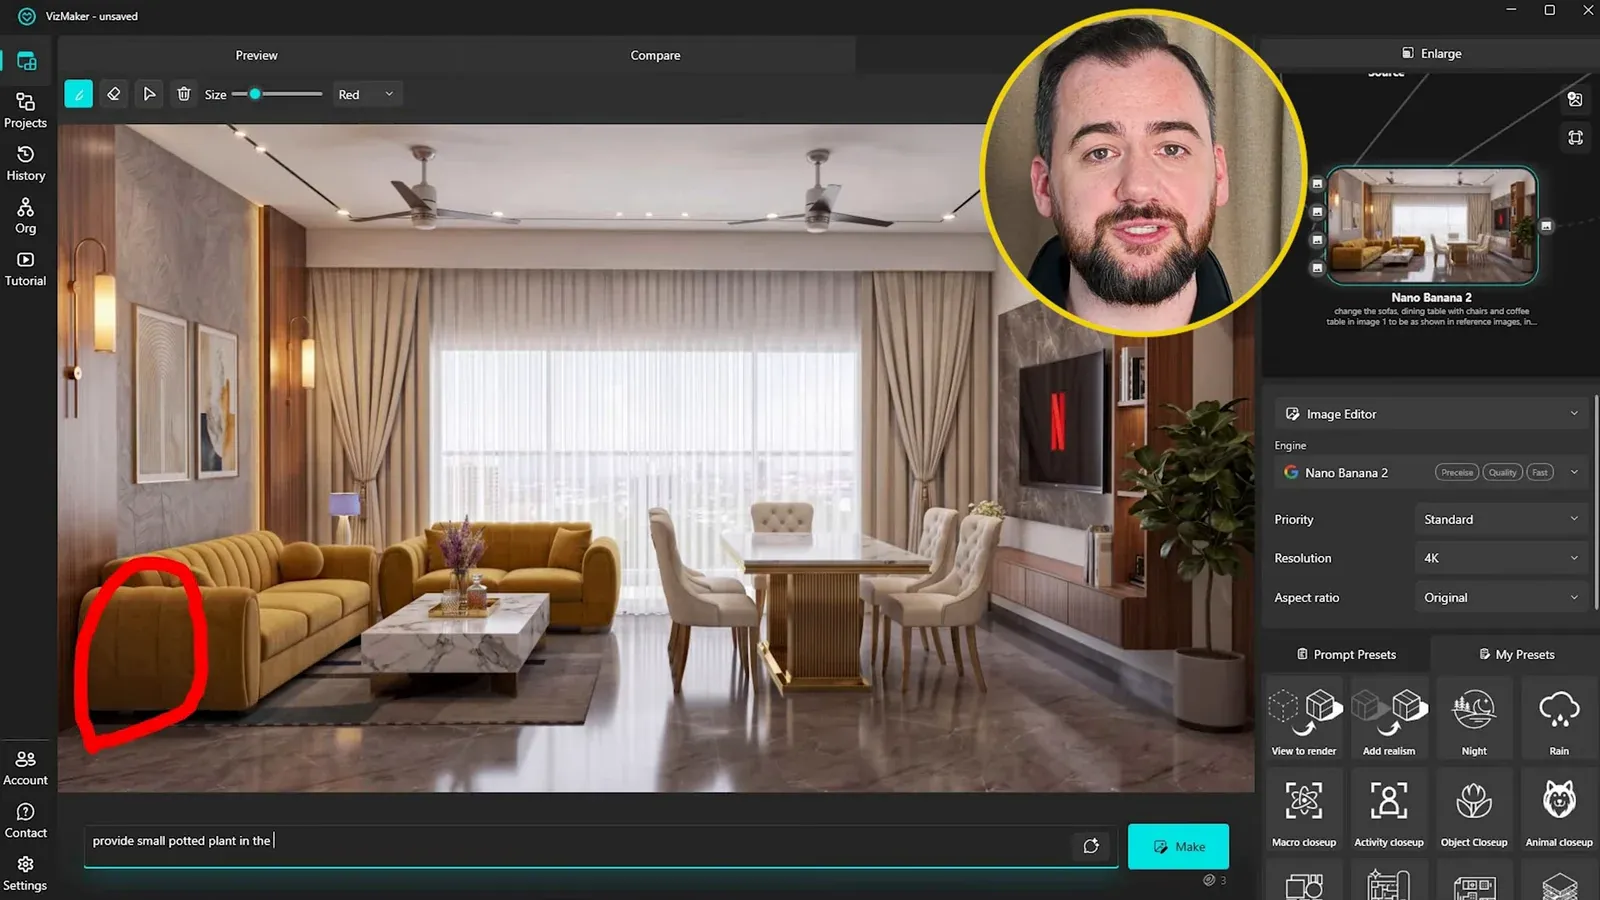
For a localized addition, open Draw, mark the intended area and describe the change. The source adds a plant beside the sofa, then uses drawn indications to guide where people should sit. This gives the instruction spatial context.
Review the result against the annotation. One person appears slightly away from the intended position in the example. Check object scale, contact shadows and neighboring details before accepting the edit; a drawn mark guides generation but does not guarantee exact placement.
6. Turn the selected outputs into a short presentation sequence
Choose transitions that explain the design rather than adding motion everywhere.
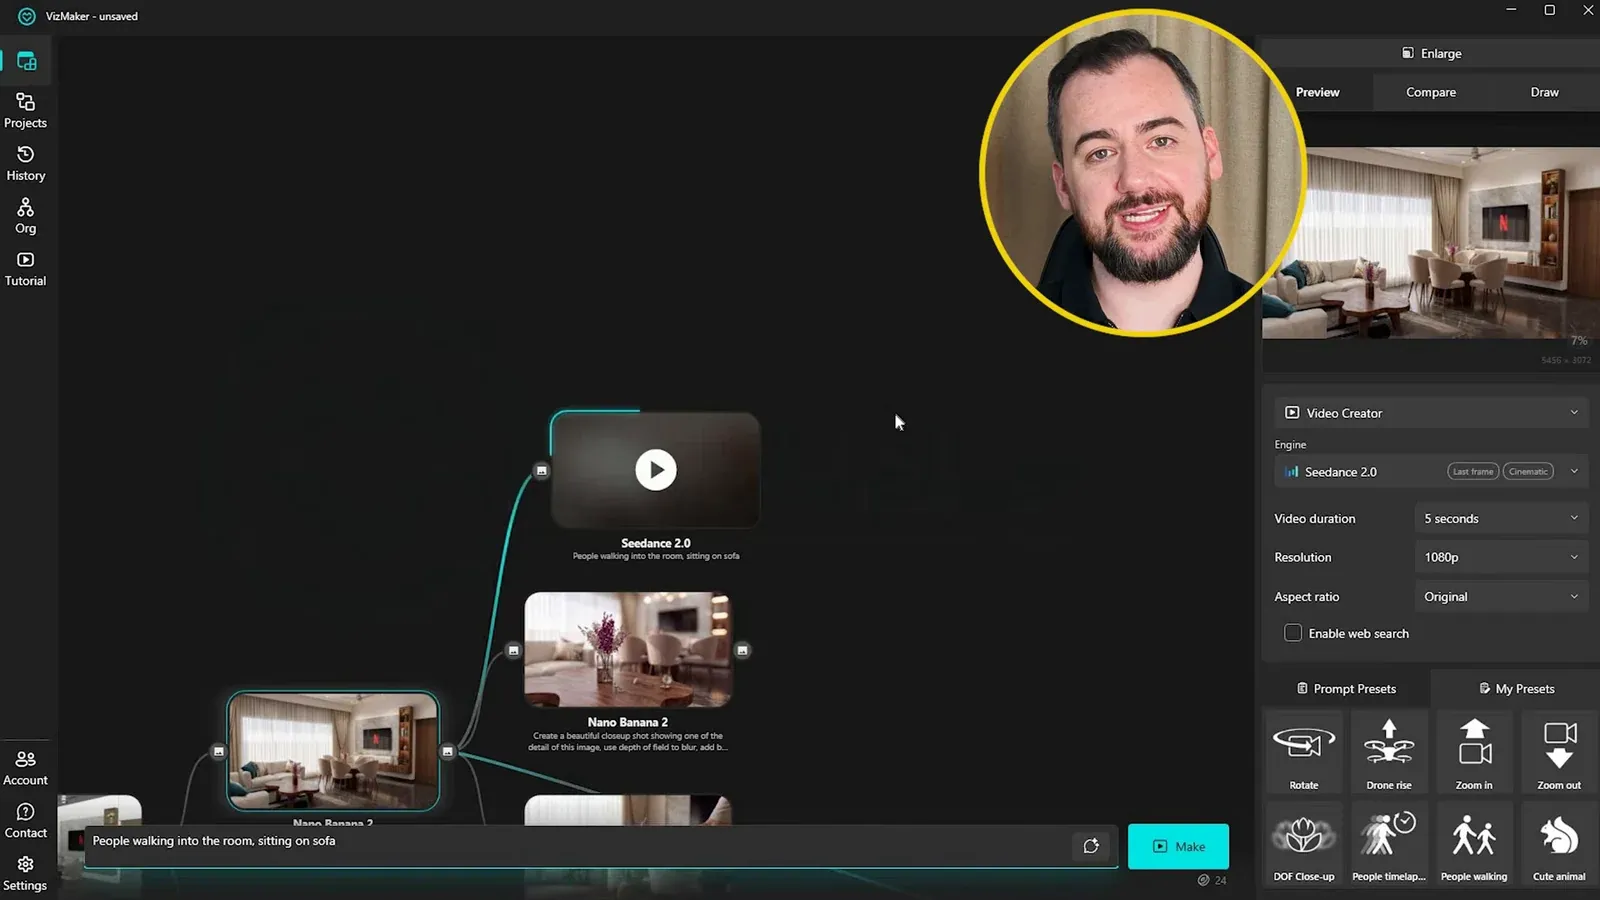
Open Video Creator with the appropriate source images. The recording uses Kling v3.0 for transitions between a board and an interior, style changes and movement between room views. It separately uses Seedance 2.0 for people entering and occupying the space.
Give each clip one purpose: introduce the room, connect materials to the finished interior, compare a style or show activity. The creator’s model choices reflect this example, not a guarantee that one engine is always better for people or camera movement.
Review the complete clips for furniture changes, camera jumps, faces and contact with the scene. Assemble the useful clips into a concise presentation while retaining still views for detailed discussion. Generated video illustrates the proposed atmosphere; it is not a live walkthrough through the editable SketchUp model.
Let each output answer a client question
The presentation becomes coherent when the furniture model, room images, boards and animation develop from the same chosen views. Start with the missing focal asset, establish the render set and then add only the variations and motion that help explain the proposal.
- Inspect and scale the generated furniture before using it in the room.
- Approve the base renders before creating boards and style branches.
- Keep generated annotations and details separate from verified project specifications.
- Use short clips to introduce the design and stills to discuss the details.
Questions and answers
Can this workflow start with a simple SketchUp interior?
Yes. The source starts with a relatively simple room model, adds a generated coffee table and develops several views into renders and presentation material. The original scene remains the reference for layout and scale.
Are the generated boards ready to use as technical drawings?
No. They are presentation images. Check any labels, dimensions, product references and material depictions against actual project information before including them in a client document.
Do I need to change the whole room to try different furniture?
The example supplies furniture references with the base image and asks to retain the layout. Draw is then used for smaller localized additions. Inspect the result because an image edit can still change other details.
Follow Adrian Mazur from a furniture photograph and SketchUp room to rendered views, design boards, style revisions and animation.
Watch the full tutorialSource: 4 Ways VizMaker Upgrades Your Interior Presentations · Adrian Mazur | AI for Architects ·