
Interactive 3D client presentations can begin with a rendered view or a 360-degree panorama. Use VizMaker’s 3D World Creator to create an explorable environment, review it, then share the result. For design revisions, edit the source image and regenerate the world; capture selected views when you need additional presentation stills.
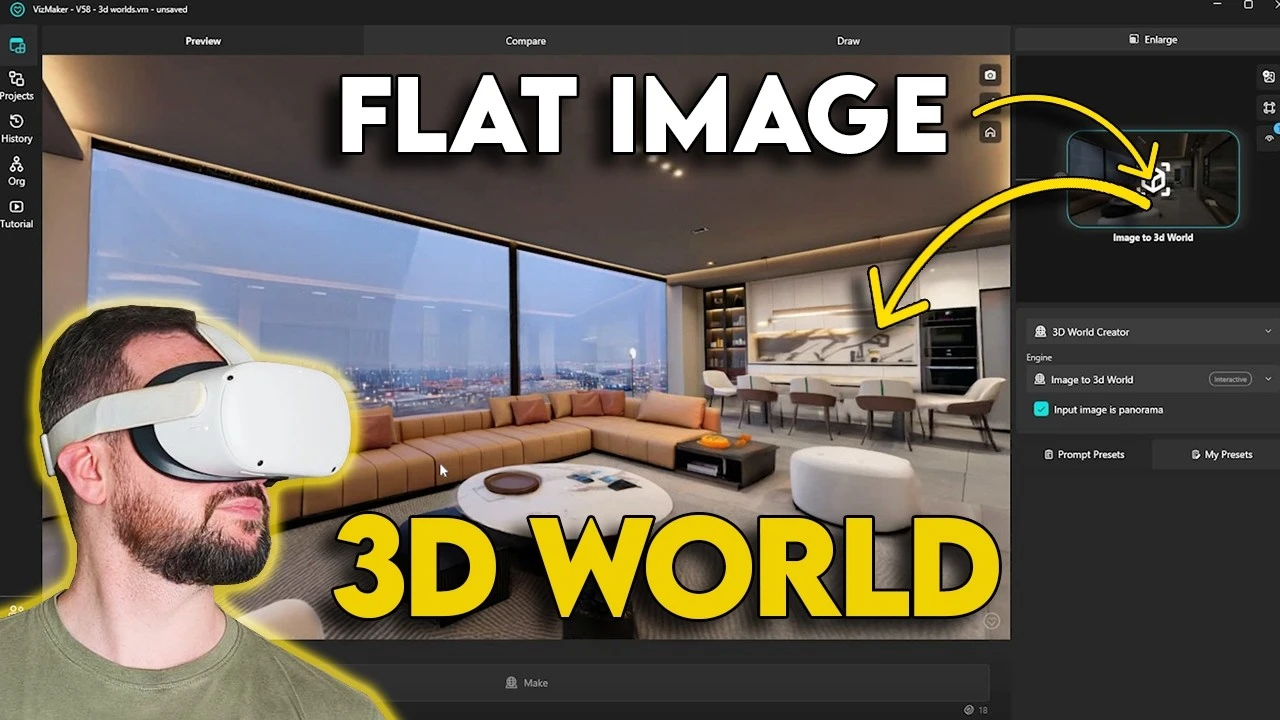
Keep the walkthrough connected to the design discussion
A client may want to look around a room, try a different sofa and leave the meeting with images that explain the chosen direction. A single still cannot serve all three tasks. An interactive environment becomes more useful when its source images, revisions and presentation views remain connected.
This workflow is based on Adrian Mazur’s recording published on 22 June 2026, which includes an affiliate promotion. It focuses on revising and sharing a presentation after preparing the input. The controls and model names describe the recorded version, and inferred surroundings need review against the design.
1. Explore a world made from a single interior render
Use the first environment to understand what the input does and does not describe.
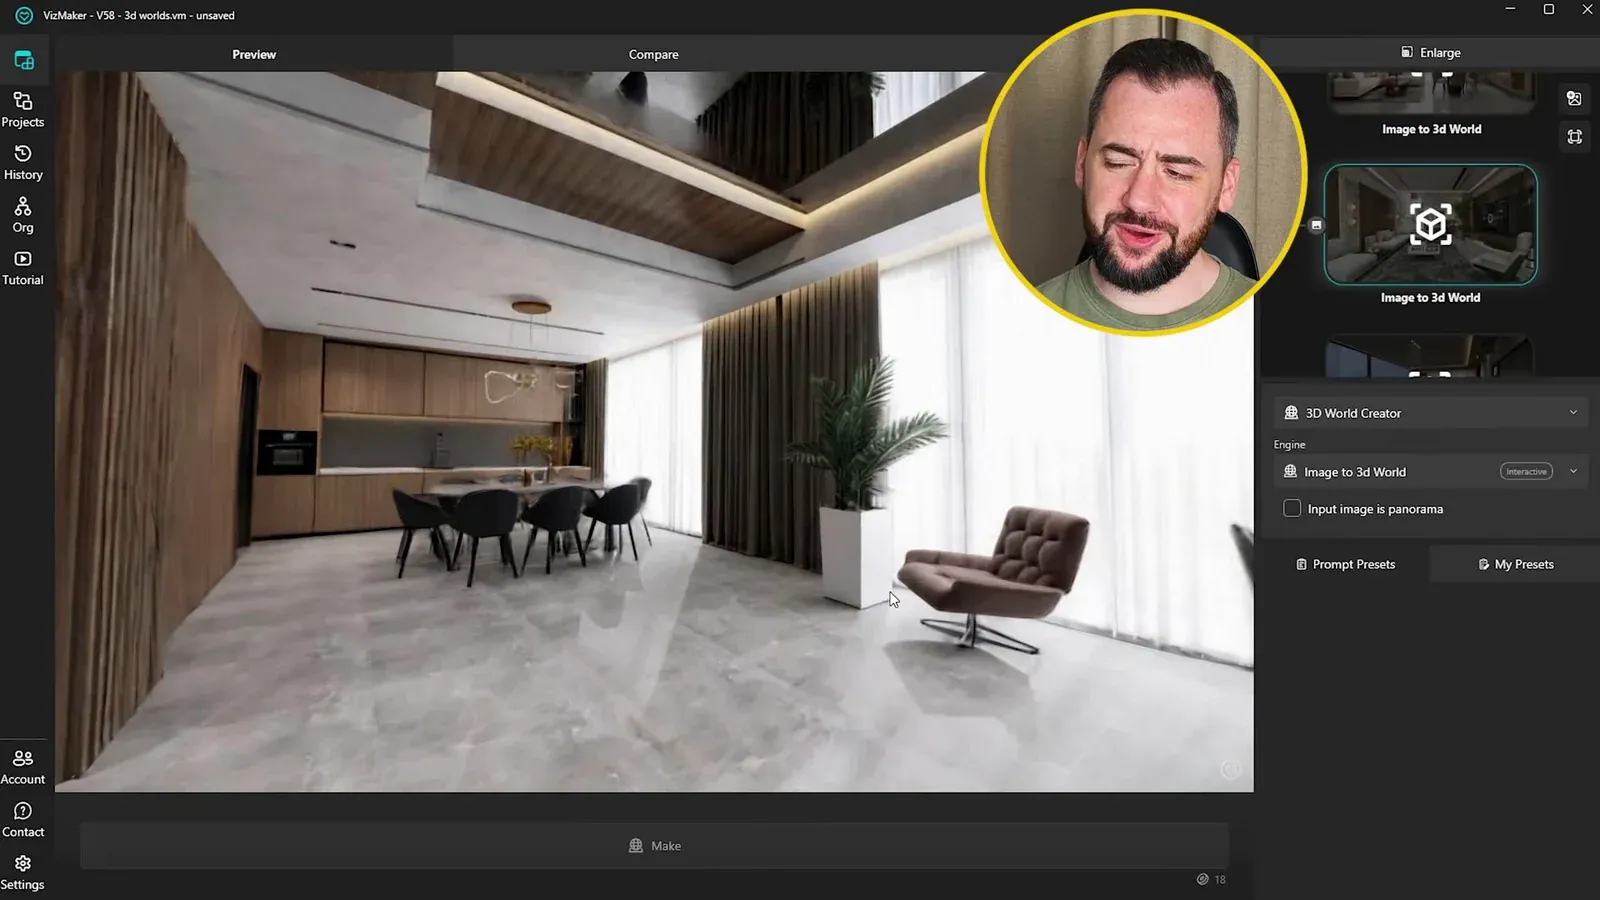
Prepare a clear interior image. The source develops several room views with Nano Banana 2 and the View to render preset, then switches to 3D World Creator and selects Image to 3D World. For an ordinary perspective image, leave Input image is panorama unchecked.
Open the generated environment and move through the space. The demonstrated controls use the mouse to look around, WASD or arrow keys to move, and Q/E to adjust height. Review the room from positions that were not visible in the original picture.
A single view leaves the hidden parts of the room to be inferred. One example produces an awkward stair area beyond the original camera view. Identify these differences before sharing: an explorable presentation does not establish that the environment matches the underlying design model.
2. Use a panorama when you have surrounding scene information
Match the input setting to the actual image projection.
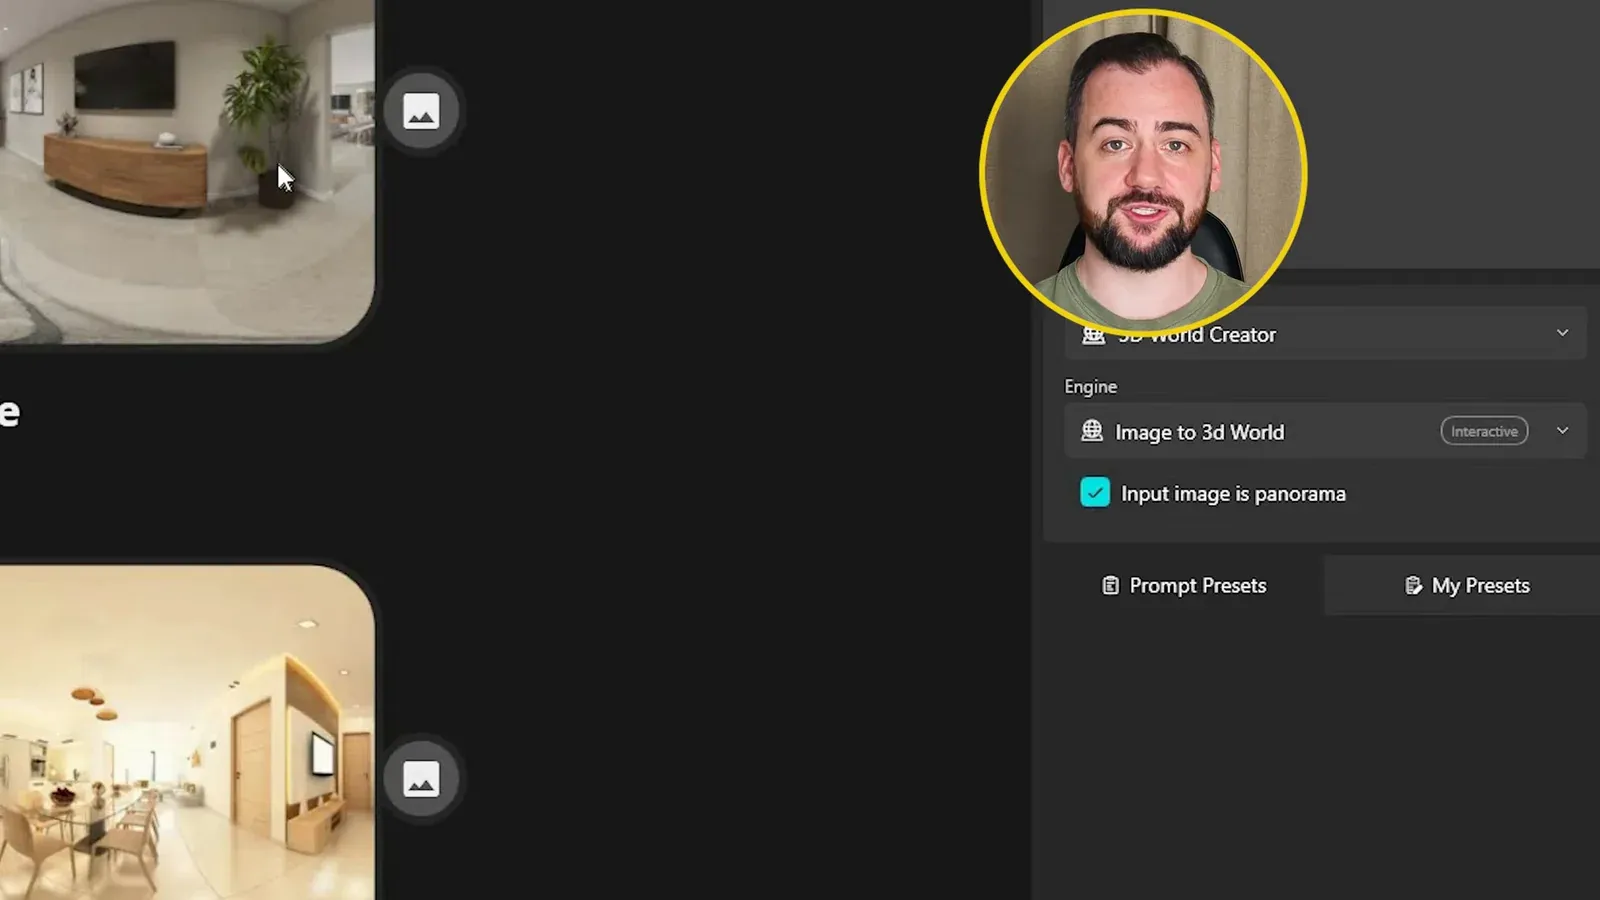
A 360-degree panorama describes more of the surroundings than a single perspective image. Select the panorama as the source and enable Input image is panorama before generating the world. Do not enable this option for an ordinary wide image simply because it has a landscape shape.
The recording compares interior worlds produced from panoramic inputs. More complete visual coverage can reduce how much unseen context must be inferred, but it does not guarantee correct dimensions, hidden geometry or freedom from artifacts.
The same distinction applies to exteriors: a panoramic site image and a rendered perspective need the corresponding input setting. Walk around the resulting environment and compare recognizable buildings, openings and landscape elements with the source.
3. Share a reviewed environment through its browser link
Give the client a specific place to explore and a clear purpose for the review.
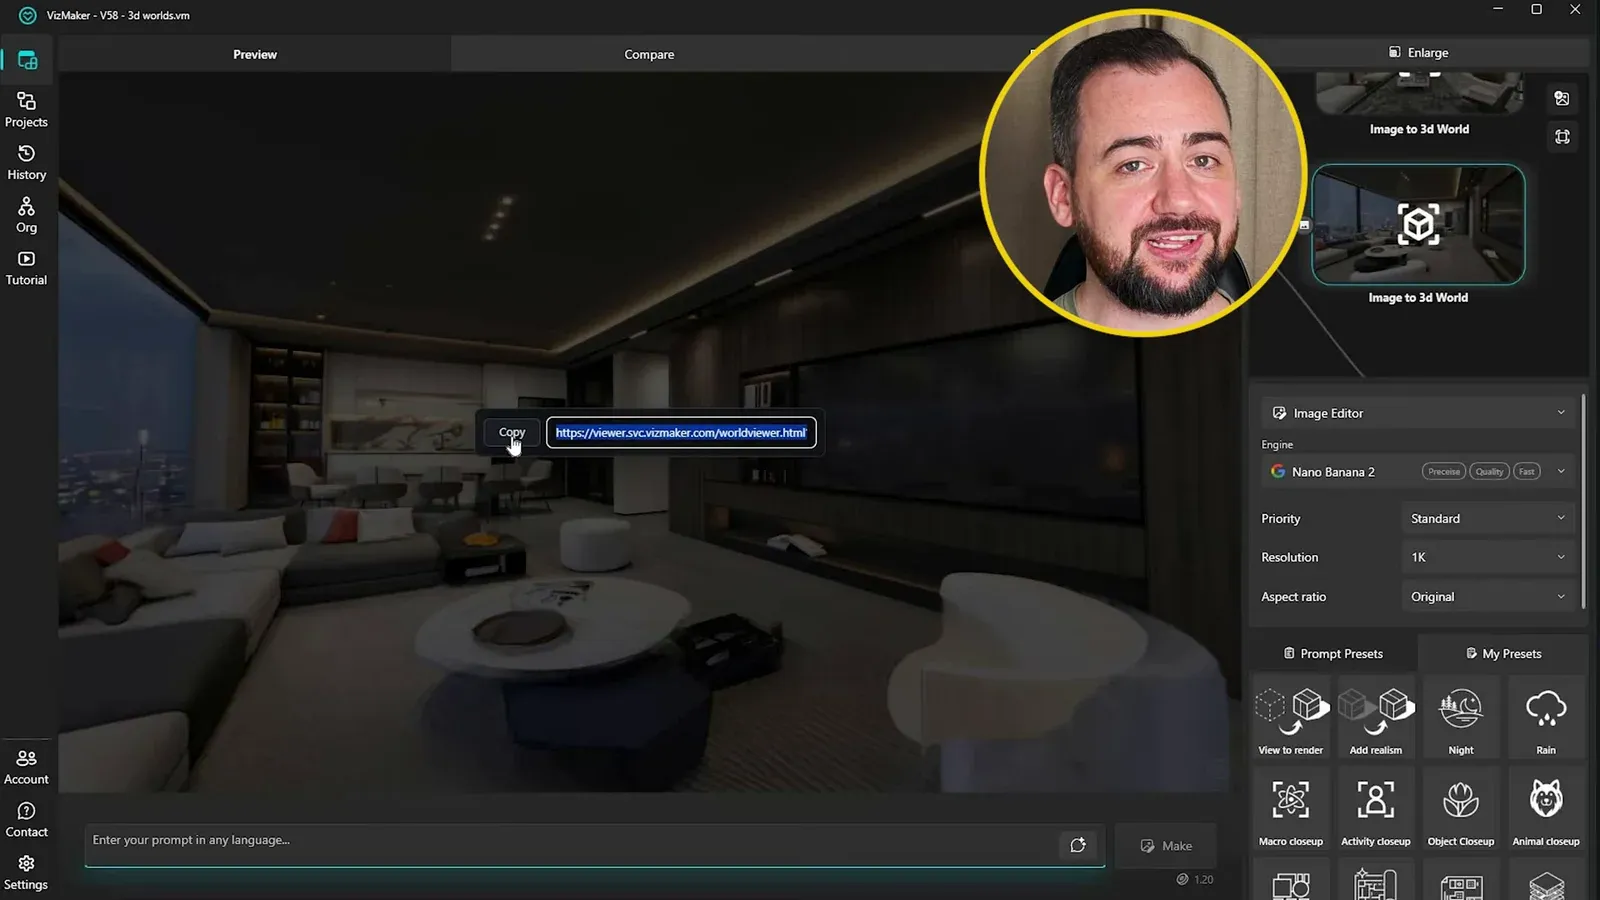
After inspecting the environment, use Share and copy the generated viewer link. The demonstration opens an exterior world in a browser, allowing someone to explore the presentation without installing the VizMaker desktop application.
Before sending a presentation, open its link yourself and confirm that it shows the intended version. Introduce the questions the client should consider, such as furniture placement, room atmosphere or the arrival experience. Explain where the environment includes inferred content.
A shared viewer is a presentation output. The recording does not demonstrate transferring an editable BIM model, managing detailed access permissions or guaranteeing compatibility with every device. Check the intended viewing setup as part of preparing the meeting.
4. Revise furniture in the source image and regenerate
Make the design change upstream so the next world uses the revised view.
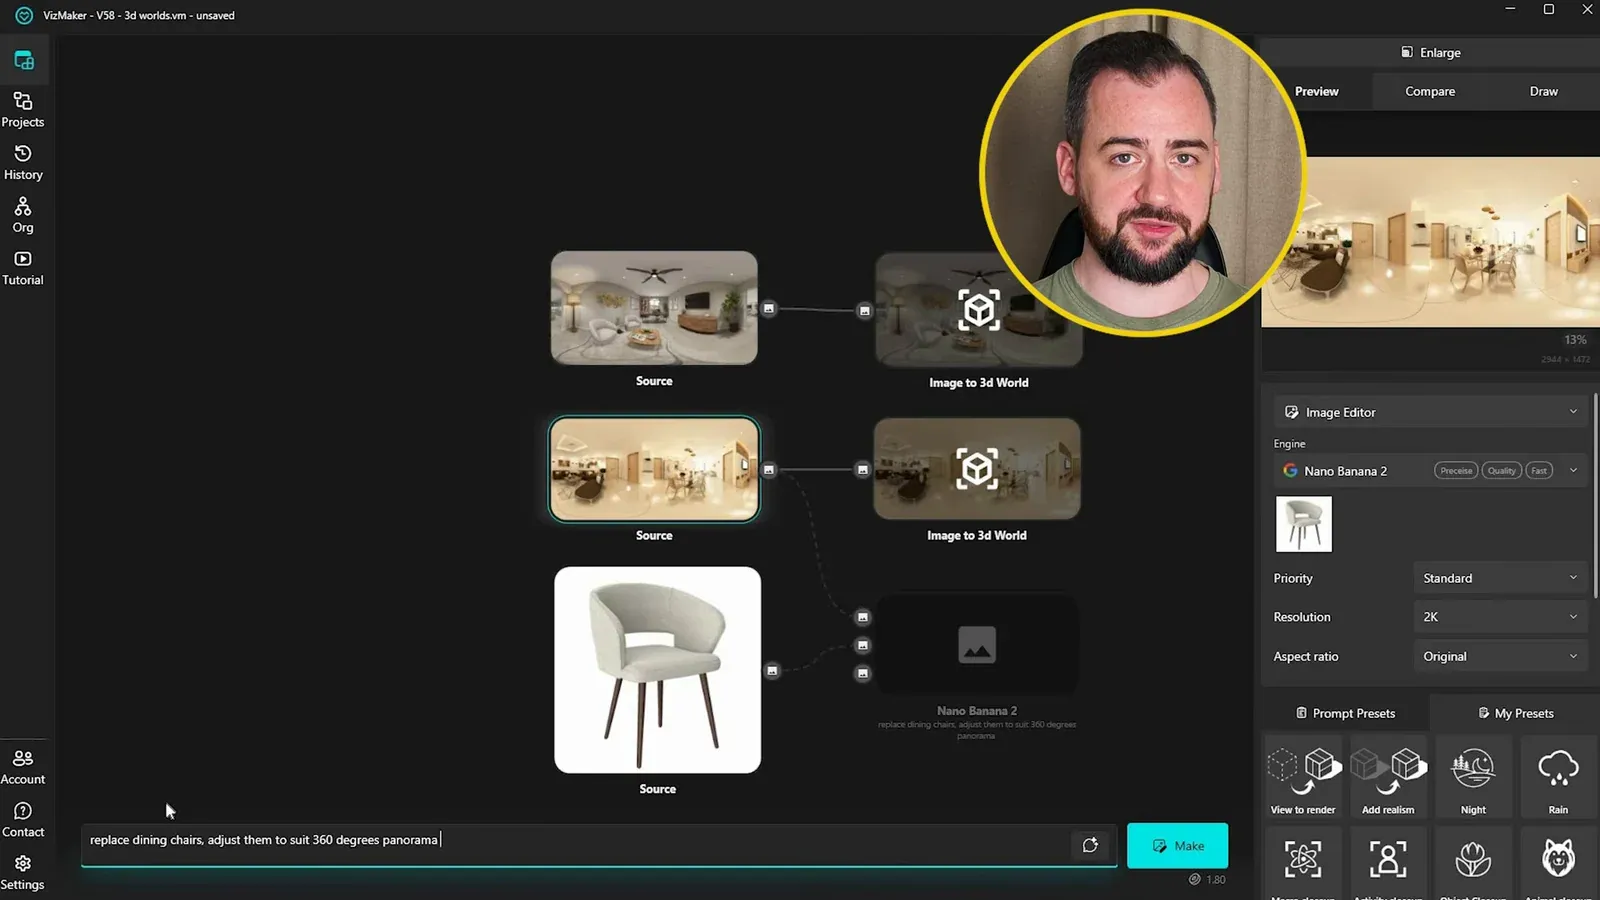
Bring a furniture reference onto the canvas and connect it with the room image in Image Editor. The example replaces a sectional sofa with a referenced sofa using Nano Banana 2. Specify the desired position, orientation and scale, then inspect the edited still before generating another environment.
For a panoramic source, describe the replacement in relation to the panorama’s projection. The second example swaps dining chairs and explicitly asks for them to fit the 360-degree view. Inspect repeated objects and the edges of the panorama where inconsistent edits are easy to miss.
Run the revised image through 3D World Creator again. This is a source-image revision followed by regeneration, rather than editing an individual sofa mesh inside the existing environment. Keep the earlier result available to compare the design options.
5. Capture a useful angle and refine the still image
Use exploration to choose the viewpoint, then review its image quality separately.
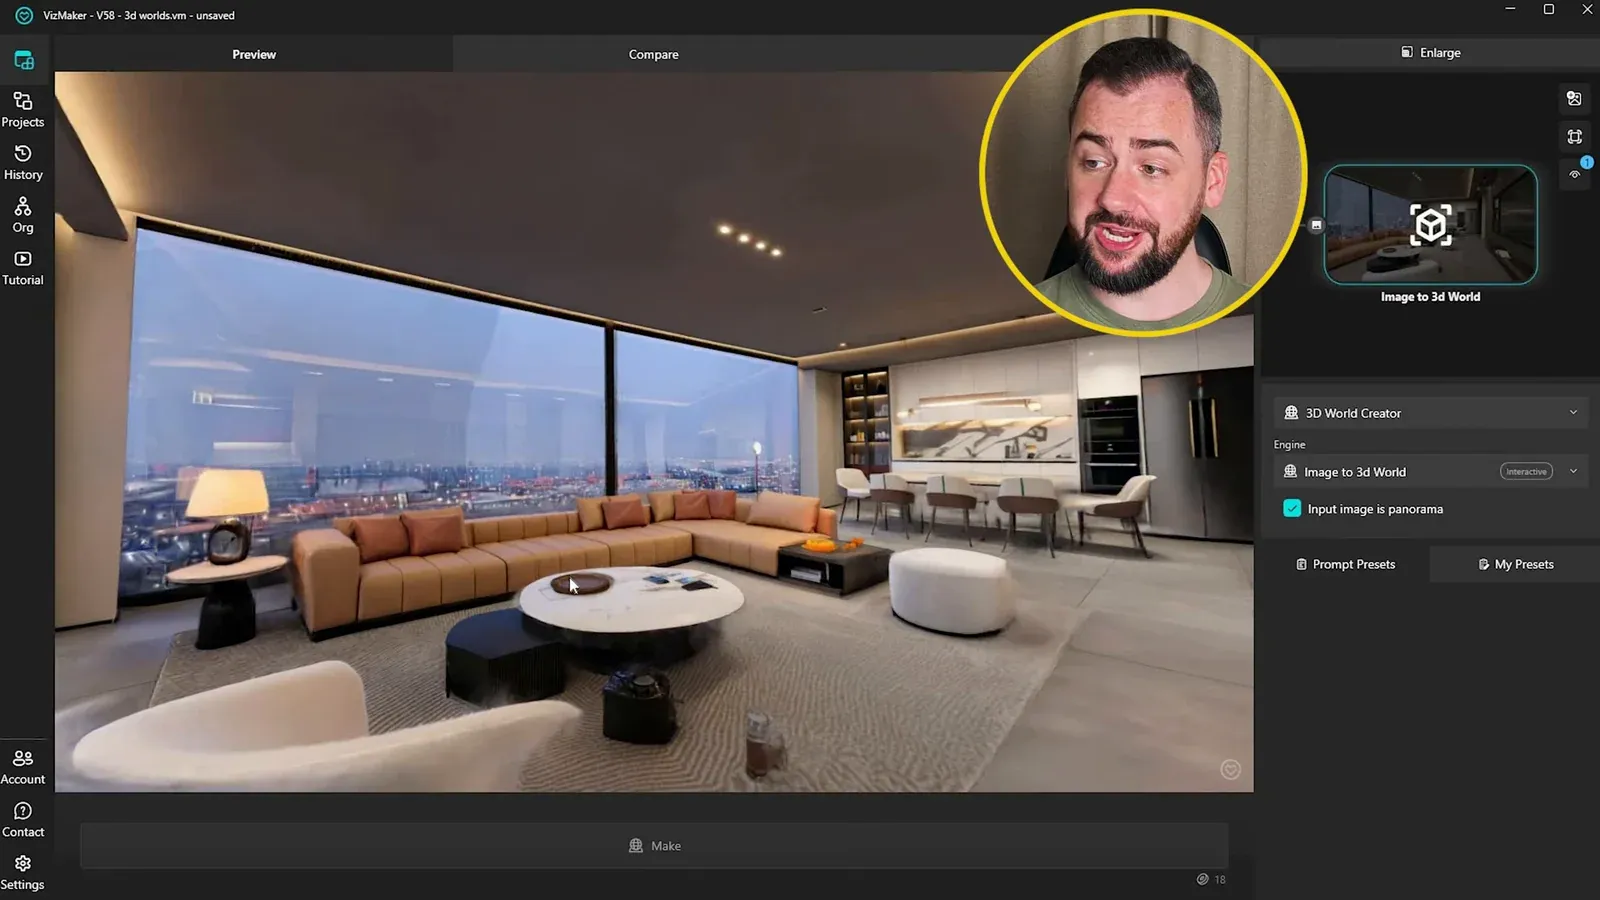
Navigate to a view that explains a design decision and use the world viewer’s camera control to capture it. The source returns the captured image to Image Editor, where Nano Banana 2 is used to improve its detail and realism.
Compare the captured view and the refined version. Look at furniture silhouettes, wall joints, glazing and material transitions. A sharper or more photographic result can also reinterpret these features, so choose the version that best communicates the intended room.
This produces an additional presentation still from a chosen point in the environment. It does not validate the geometry of the world or replace the original design views as the reference for project decisions.
6. Upscale the selected image for presentation
Judge added detail against the design rather than sharpness alone.
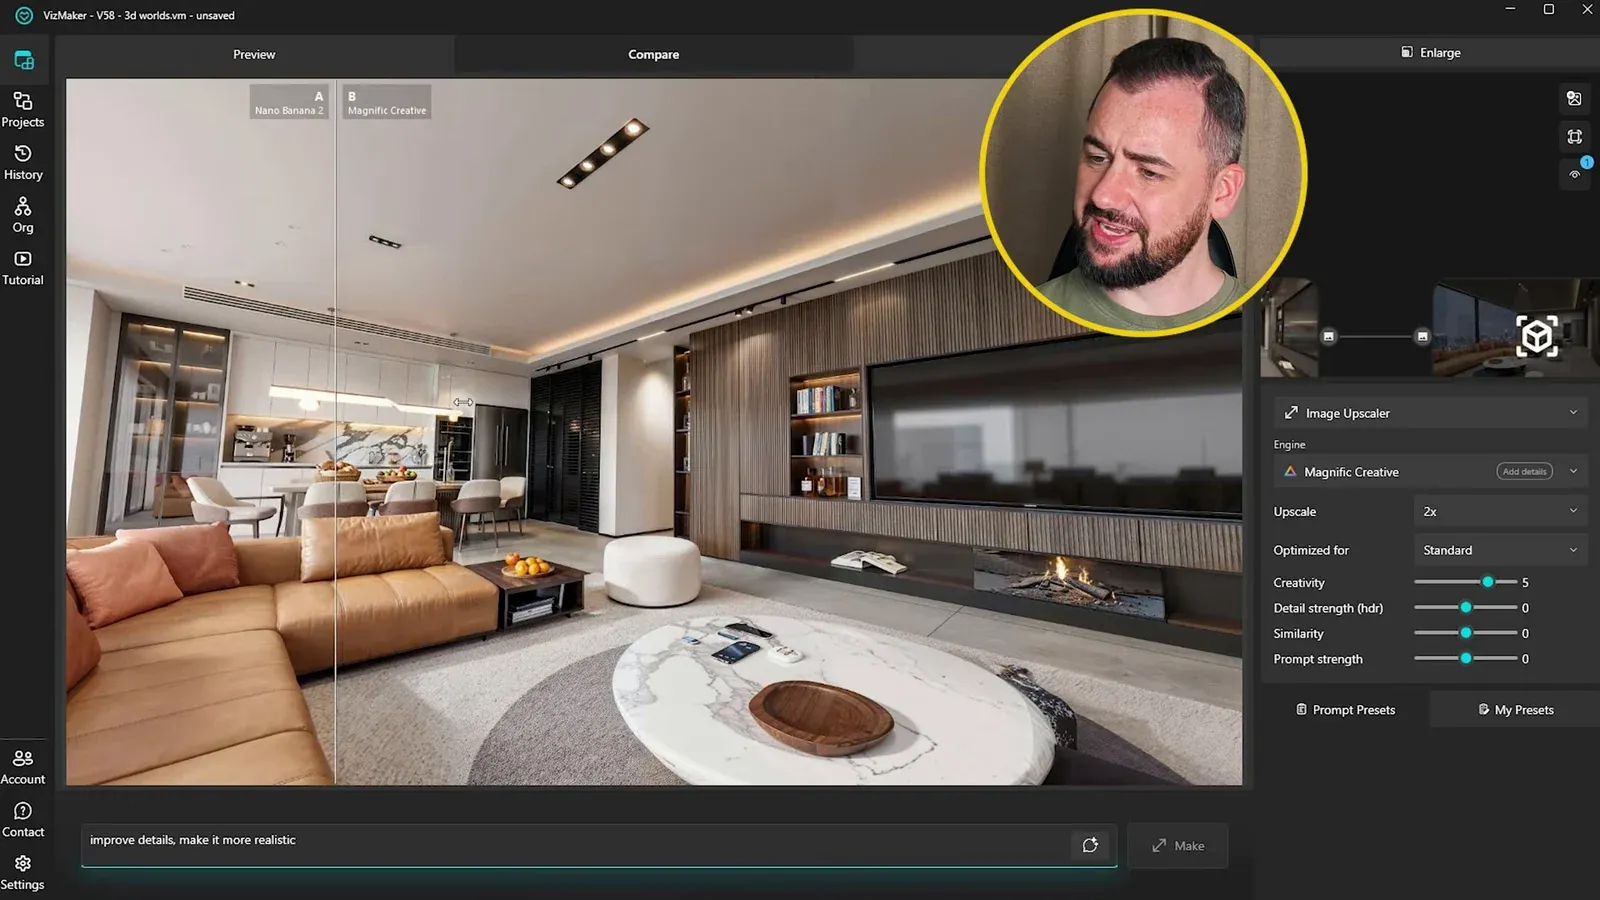
For the selected still, open Image Upscaler. The recording uses Magnific Creative, with controls for creativity, detail strength, similarity and prompt strength. These settings affect how the image is interpreted during enhancement.
Use the comparison view to inspect the result at a useful viewing size. Check small objects, upholstery, wood grain and lighting details. Generated texture may look plausible while differing from the specified material, so retain the earlier image for reference.
Finish with a concise presentation set: the reviewed interactive link, a selected design revision and a few useful stills. A larger number of generated views is helpful only when each one answers a different client question.
Keep the source, revision and presentation connected
The workflow supports a design conversation that moves from exploration to a specific change and then to a shareable result. Review the generated environment, edit its source when the design changes and keep a small set of stills that explains the selected direction.
- Choose the panorama setting from the input projection, not its width.
- Regenerate a world after approving a source-image furniture revision.
- Check the shared viewer and refined stills before presenting them to the client.
Questions and answers
Is a panorama required for an interactive 3D world?
No. The source demonstrates both perspective images and panoramas. A perspective image gives less information about the surrounding space, so the model must infer more of what becomes visible during navigation.
Can I replace furniture directly inside the existing world?
This workflow edits the room image with a furniture reference and then generates a new world. It does not demonstrate selecting and replacing an editable furniture mesh inside the environment.
Can the client open the result without VizMaker installed?
The demonstrated Share workflow produces a viewer link that opens in a browser. Check the link and the intended device before sending it as part of the presentation.
Follow Adrian Mazur from render and panorama inputs through furniture revisions, sharing, captured views and image refinement.
Watch the full tutorialSource: I turned my RENDERS into 3D WORLDS - Full Workflow · Adrian Mazur | AI for Architects ·